In this brave new world of music production where there are no rules and virtually anything is sonically possible, it’s very important to find new and exciting ways to spur our creativity as creators of music. If you are a user of Apple’s “Logic Pro”, here is a great way to inject new life into previously recorded ideas.
Check out the video for more!
Here’s the step-by-step:
Step 1
Find a piece of previously recorded audio to turn into your new sampler track. It could be anything from a drum loop to a vocal phrase. In our example, we will be using a vibey guitar riff. Drop and drag the Audio onto a track in your “Arrange” window.
Step 2
Open up the “Sample Editor” window by double clicking on the region.
Step 3
Locate and press the “Transient Editing Mode” button.
Step 4
Logic will analyze the audio and place markers where it finds transients. It generally does an excellent job of this, but I recommend going through the region to make sure the transient markers are all placed correctly. You can increase or decrease the overall sensitivity of the transient analysis by pressing the “plus” or “minus” buttons, respectively. You may also move, delete, or create new markers manually with the mouse if Logic misses a transient or places a marker incorrectly.
Step 5
Once your transient markers are placed correctly, go back to the “Arrange” window. Control-click on the edited region for a contextual pulldown menu. Locate the sub-menu “Convert” and select the enclosed command “Convert to New Sampler Track”.
You will presented a dialog box containing a few options for the new sampler track. Make sure the option “Create Zones From: Transient Markers” is selected. Note also that the first sample will trigger from C-2, your keyboards lowest possible MIDI note, unless otherwise specified.
Step 6
Logic will create a new “Instrument Track” with an instance of EXS24 containing your newly created sampler instrument. It will also create a MIDI region that corresponds to the location of the original transients. This is useful to keep around, especially when working with drum grooves, so you can always get back to the original idea.
Step 7
Play your newly sampled instrument to your heart’s content! A couple tips and suggestions:
- The transients will be sampled chromatically in the order of the original audio region. This means that notes on your keyboard will likely not correspond with the actual pitches you are hearing. This makes creating a new idea incredibly fun as you are not encumbered by your knowledge of the piano keys.
- If you are experiencing clicks or pops, see the “suggested settings” in step 8
- Experiment using EXS24’s robust routing and modulation matrix as well as it’s filtering capabilities. The possibilities here are virtually limitless!
Step 8 **suggested settings**
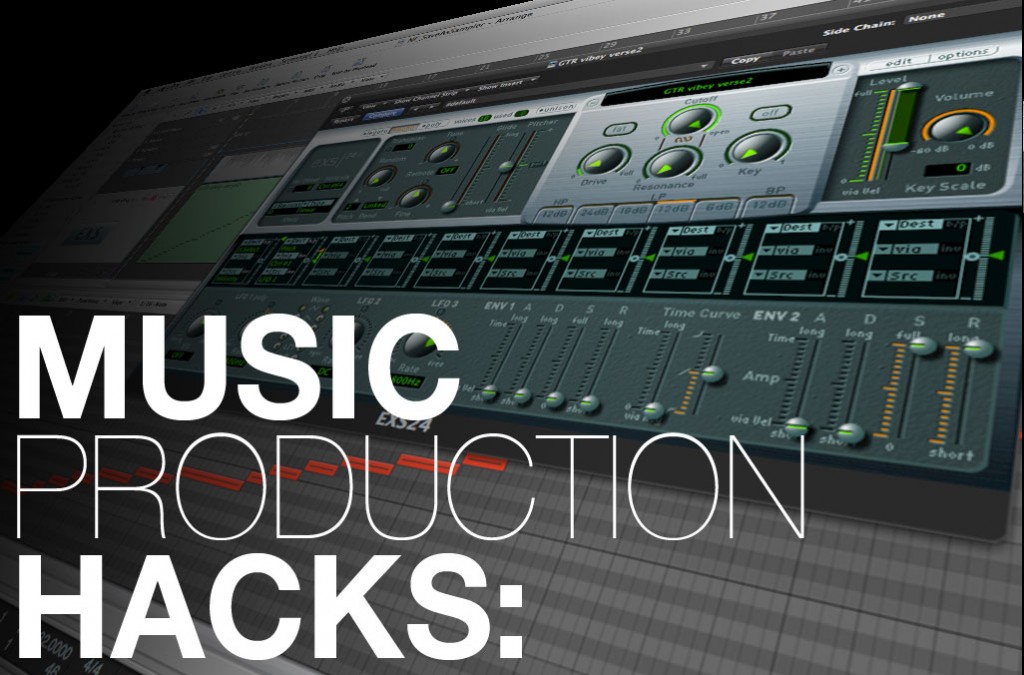
Here are my suggested initial settings for the EXS24 once you have sampled your new instrument.
- Check “Mono” for the instrument polyphony (top left)
- Increase the ENV 2 “Release” to the maximum setting (bottom right)
- Instrument Editor: Playback – deselect “Pitch” and select “1Shot”
- Instrument Editor: Sample – Reduce “End” by 10 samples
- Instrument Editor: Sample – Increase “Fade” to 10 milliseconds
Step 9
Create something new and awesome. Enjoy!